Showing posts with label recycled crafts. Show all posts

Tuesday, 15 July 2014

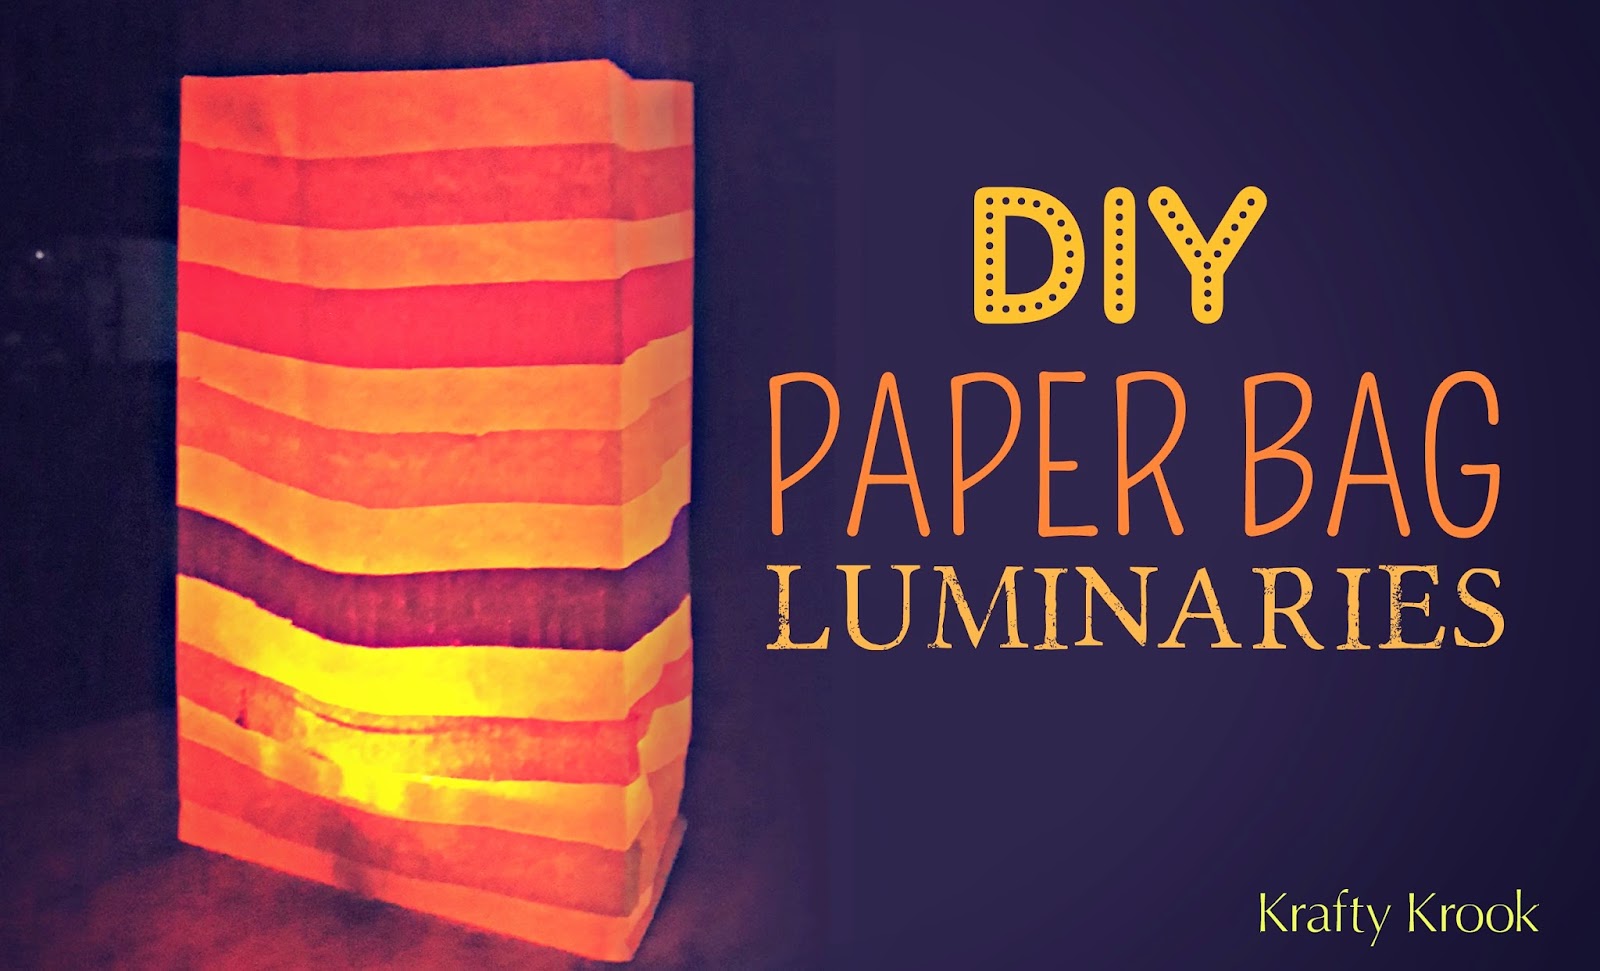
DIY: Recycle Paper Bags to Create Colourful Luminaries

Hello! Hope you all are in the best of spirits!
I came across a couple of tutorials I've done in the last few months mainly done for a local daily. Just didn't have the time to share them with you people. So for sometime now on, I'll be filling up my blog with these DIYs & Projects. The coming weeks will see a lot of tutorials and the projects I've been on. To start with, here's a super simple tutorial on using paper bags to make luminaries. A great way to recycle and create décor for your home, parties and events. 

WHAT YOU'LL NEED:
  • A Paper Bag
  • Crepe Paper/Kite Paper in different colours
  • Glue
Step 1: Begin with neatly trimming of the upper part of the paper bag. 
Step 2: Make strips from crepe paper. Use different colours for a colourful & vibrant look.
Step 3: One by one glue the colourful crepe paper strips to the paper bag.
Here's what you're final product will look like. 

Use LED tea lights or place a plain glass votives to light your luminary up. Alternatively, this can be used outdoors using sand  to hold pillar candles.

I hope you enjoy making these! A great alternative to add some quirky element to your home décor/event décor. They're sure going to brighten up all your blues. ;) Try it out!

Next on the blog: Some cute & unique gift tags.

Till then,
Happy Crafting!

Karen 

Tuesday, 24 June 2014

DIY: Make Colourful Baskets from Paper Plates

Hello all you lovelies! Hope you had a great week! 
Here's a quick tutorial on making multi-utility baskets from paper plates. Use it for keeping your paintbrushes, stationary, ribbons or simply enhance your parties, picnics or events by serving your guests in these colourful baskets. 

What You'll need:
- Paper Plates (I've used large ones)
- Acrylic Paints
- Fevicol

To start with, Paint the back of the paper plate in the colour of your choice. Try to make it as colourful and quirky as you can. I'm a big fan of polka dots so that's what I'm going to make. You can try out your own designs.
Next, I've used the tip of my paintbrush to create dots on my paper plate.
The next steps involve cutting and folding the paper plate to make the basket. Its very similar to the steps used in making a box. Draw lines as shown in the picture below and accordingly fold the paper plate along the lines.
Cut the edges as shown below and the fold them into triangles (See image below). This is required as to glue the folded sides together (I cannot explain better! ;))
Glue the folds together as shown in the image below. With this final step, our basket is ready!
Get Creative & make colourful loads of them. Its a perfect handmade utility solution especially if you have loads to store in. Try it out & would love to know what you think about it! 

Till then,
Happy Crafting!
Karen

Friday, 4 April 2014

DIY of the Week: Make Quirky Coasters from Newspapers

Happy Friday People! Hope you all are doing good! I'm in good shape and kicking off this summer with a lot of projects that are going to be up on the blog in the coming weeks. 

I love experimenting with the unused stuff lying around my house. The last time it was a quirky pen stand from newspaper. Based on the same concept are these quirky and colourful coasters made from newspaper. So simple & easy & if you simply love to keep colourful things in your home, these coasters are a must try.
To start off with these, you'll need thin newspaper rolls that we made in the last DIY, some old book covers, acrylic metallic paints & some fevicol. 
Cool isn't it? A super way to convert trash into treasure and what's a better way than using all the newspapers to create such beautiful pieces for your home! 
Hope you've enjoyed today's DIY and I hope you guys enjoy making it too!

Till then,
Have a super duper weekend! And Happy Crafting!

Karen

Tuesday, 25 March 2014

DIY of the Week: Make Quirky Penstands from Newspapers

Hello to all you lovely people. Hope this summers' keeping you good... Its been extremely hot over the last few days in Goa. Thanks to our beaches, we can always have a quick dip to keep off this scorching heat. 
Well getting back to business, I finally got my self started from a long lazy break and back to what I love doing! Here's what I made this weekend and I'm sure you all will love it too. Followed by the picture is a detailed tutorial for the same. Hope you enjoy it!
Being a crafter, I'm always short of pen stands, storage boxes etc etc. I'm sure you'll agree with me on this! And if you're like me, who never likes to purchase such stuff thinking that you can make it by yourself, you're definitely going to end up making things like these. He he he.
I love Newspaper & magazines as craft as art mediums. You can use them in a million of different ways to make amazing stuff. The best part is they're easily available and inexpensive. 
What you'll need for this Pen Stand:
·             Newspaper (Pages cut into Halves)
·      Acrylic Paints ( Normal & Metallic)
·      Ribbon of your Choice
·      An old CD
·      Colored Paper
·      Empty tissue Paper Rolls
·      Fevicol

To Start off, we need to make thin rolls like pipes from newspaper. To do this, we need to take halves of newspaper pages and start rolling it from the corners till you form one thin roll from it. 
Start rolling slowly from one of the corners of the paper and keep rolling it tight till you form a thin roll. Glue the last bit or corner that remains so that the roll remains intact.
Once you're done with this, trim the ends and cut them into sizes as desired for the project. Since we're making a pen stand and I intend to use it for my brushes and scissors, I've just cut the rolls into halves. These are all the rolls I made since my next project too is based on these newspaper rolls.
So we're done with the newspaper rolls. Now we need to make a base for the pen stand so I'm going to use an old CD, some empty tissue paper rolls to make this. Since I love a lot of compartments, I've used 3 tissue rolls to make this pen stand. 
Take any old CD and get it covered by any colored paper of your choice. 
Glue all 3 empty tissue rolls to this base with fevicol. 
Once you're done with this, apply fevicol to all the tissue rolls from outside and also some next to the base so that we can easily glue the thin rolls to the stand. One by one glue the thin newspaper rolls to the stand.
This is what it will look like once you complete gluing all the rolls together.
Now comes the fun part - Colour, enhance and decorate!! Since this has a lot of layers which creates a lot of dimensions, I thought of using a mix of metallic and normal paints inspired by peacock shades. So I started off painting the lower half with some metallic shades and the upper portion with the normal acrylic paints. To complete the look, I got the CD base painted in metallics too.
Here's what the pen stand looks like after being fully painted. I'm so in love with the colours of this pen stand!
For the finishing, tie a broad ribbon around it. I've used a gold one to contrast the colours used on the pen stand.
So that's it with my super-colourful & vibrant pen stand. Making and keeping stuff with colours like these simply makes me happy! 
Well, if you're going to try this out, remember the options are endless. You can use a lot of combinations and there are a million ways to enhance and accessorise it!

I hope you enjoyed this DIY and I hope you enjoy making it too!

Till then,
Happy Crafting! Have a great week ahead!

Karen

Friday, 11 October 2013

DIY: Pet Bottles Lanterns

Hello all you lovely people. Hope you all are doing great! 
Today's post is a continuation to my previous post on recycled pet bottles. This is just another fab way which can be tried to beautify your pet bottle lanterns. A great, simple and inexpensive way to create festive lighting for your home this Diwali.  

Jumping straight to the tutorial, lets start with what you'll need for this project.
·      A Large pet bottle (Either a Mirinda, Coke or Pepsi)
·      Crepe Paper
·      Fevicol/Glue
·      Tea light candles

Take a large pet bottle and cut the upper half & the lower part of the bottle just keeping the
Middle portion. In this case I’ve used a large Mirinda pet bottle. Trim off the extras with a scissor 
to get a neater finish.
The Middle Portion of a Large Mirinda Pet Bottle
For embellishments, I’m going to make use of crepe papers to create a lantern. So take any three different colours of crepe paper. In this case, I’ve used yellow, orange & red. To begin with, cut strips of approximately 5-6cms of each colour. You can get creative by using different textures and colours.
Now take each strip, and make arc-like designs on it. Once you’ve done this, cut out the arc portions keeping it continuous.  Do this for all three crepe papers.
Once we’re done with cutting the arc cutouts, we need to stick them onto the pet bottle cutout in order to create a frilly effect. So now the next step would be to stick each of the crepe cutout by layers. Apply fevicol to the upper part of each frill and stick it to the bottle. So first, start with sticking the first layer beginning at the top of the bottle cutout. Continue the same method and keep sticking each layer one below the other till you reach at the bottom of the bottle.
This is what you're lantern will begin to look like.
You're crepe paper layers will look more like fish scales. Take a look at the picture below:
We're done with the lantern but we need to use it turning it upside down. Like this, it will give a better effect of the scaly layers that we've created. Finally, Just use it with a LED tea light or a normal tea light to light up the lantern. Here's the final product...
Definitely a fab way for putting to use all throw away pet bottles. A very simple idea which can be customised in numerous ways. Do try it out and let me know if you have any suggestions.

Till Then,
Happy Crafting!
Karen