Showing posts with label quilling. Show all posts

Wednesday, 31 July 2013

DIY: Paper Weights from Leftover Wood Chunks

Hello People! Hope you all are doing great! These two weeks have been the busiest with a really important event coming up the end of the year. Unfortunately, I'm left with little or no time which is giving me a hard time to juggle between Krafty Krook and my important set of events. Nonetheless, where there is a will, there is way... And that's what keeps me going on KK!
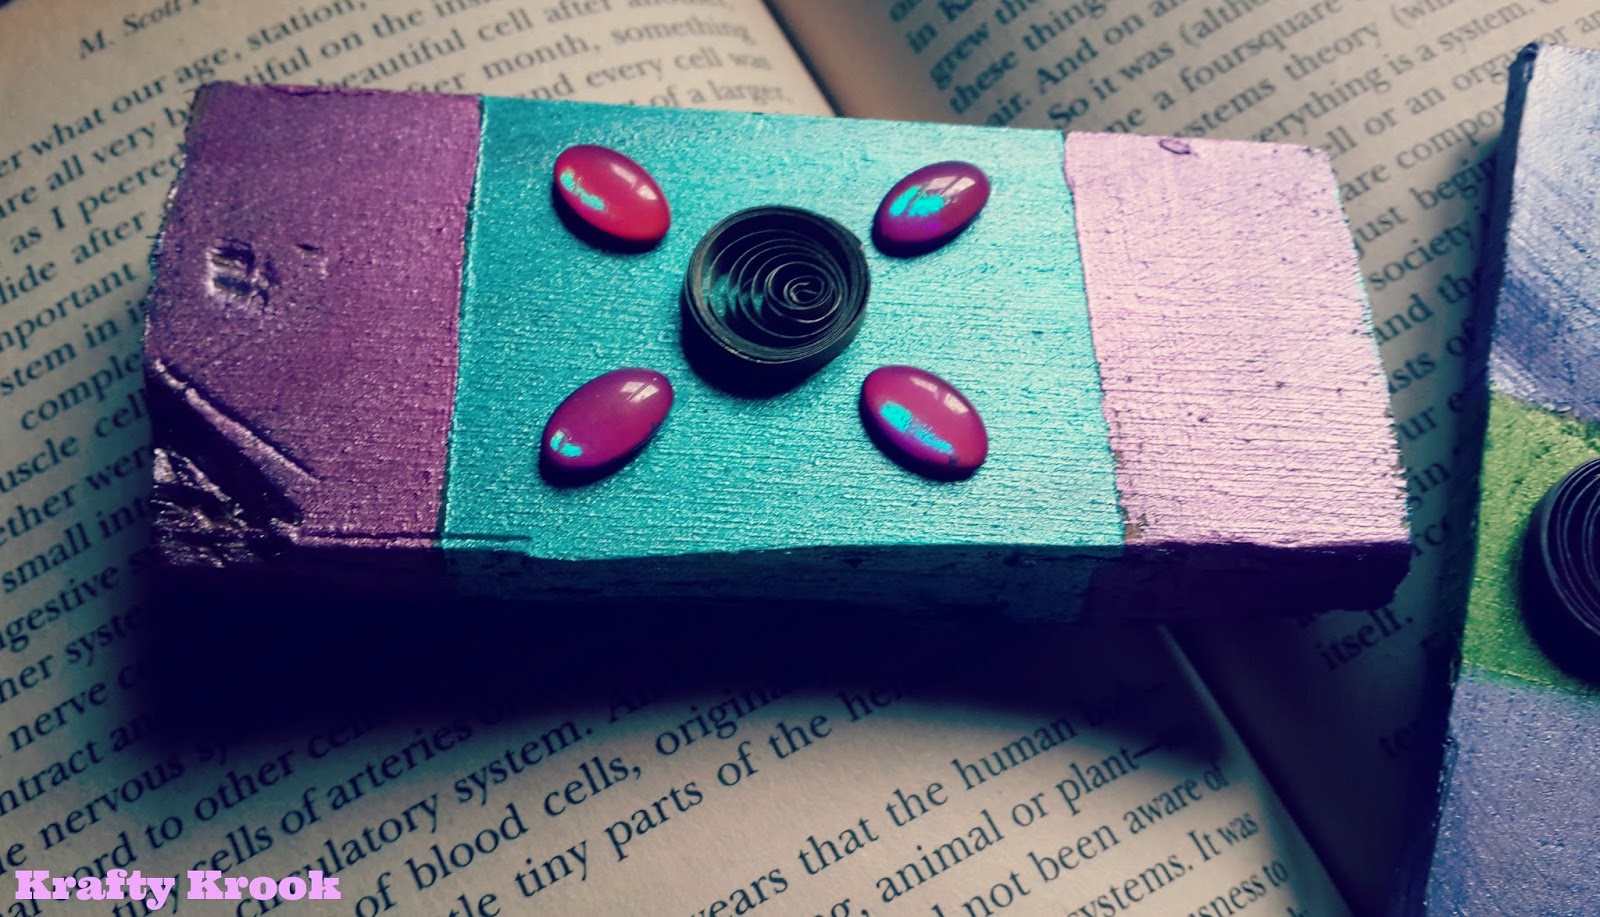
So talking about today's DIY project, it was just a sort of an accident. I had these few pieces of leftover wood which I discovered while on a cleaning spree! Yes, I must have surely kept them aside in case I think of making something out of them someday (he..he..). I knew what I wanted to make of them, but didn't think they would turn out to be so pretty. Take a look at the pictures before I show you how to go about making them.
 Aren't they simply pretty? 
Here's what you'll need:
§  Some leftover wood chunks
§  Paper tape
§  Metallic paints (You can also use the normal acrylic paints)
§  Quills and Decorative stones/beads 
§  Glue

Here's how you go about it!
 To Start off, roll tape around the wood chunks based on the design you're going to create. I've used block designs in this case and hence rolled the tape either at the center or at the edges to have a neat and defined paint finish.
After you have rolled the tape, start with painting the chunks in different colours. In this case, I've used metallic paints (Fevicryl) and paper tape. (Paper tape is easier to remove as compared to any other tapes. It does not leave any sticky residues and very easy to work with.)
Allow the paint to dry for a while and then slowly begin peeling off the tape carefully. 
Once you peel off the tape, you can begin painting the remaining portions in the colour of your choice. Allow the entire painted to chunk to dry for a while and finish it by decorating it with quills or decorative beads as shown in the pics above! Yes! As simple as that!

A great way to make gorgeous stuff for your home! Trust me! You'll love keeping these bookmarks on your table. Tell me what you think about this! Would love to know your suggestions and ideas!

Till then,
Happy Crafting!

Karen

Thursday, 27 June 2013

DIY: Mini Gift Boxes from Soap Packs

Hello there! Hope you all are doing great! I am good as always and busy getting crafty with simple things around me. Here's one of them - some soap boxes which I used to make some pretty little gift boxes.
The best thing about this project is that it can be tried by any age group. In fact, this project was a part of some craft column which I wrote for kids. But yes, as I said, can be tried by any age. This project is one of the simplest and can be created in a numerous of ways... Its up to you and your creative minds :) So here's how you go about it.
What You will need:
Plus some fine ribbons and fevicol.

Cut your paper according to the size of the Soap Box, taking into consideration the sides, edges and bottom. Wrap the paper around the soap box and leave out the top opening.
Paint the top opening of the box with a similar colour. You could also create a design as you like.
I've made 4 gift boxes using gift wrapper, crepe paper and tissue paper. The options are unlimited; you could also use newspaper, colourful magazine pages, or even thick tracing paper.

The final step - you need to beautify your gift box!! Well, this is the most exciting part and the options are numerous. In this case, I've just used some fine ribbons and quills. I feel its a cute way to wrap your gifts :)
So take your ribbon and glue it or tie it around the box and finish it with a quill. Try using different shaped quills.
Well, again, you really don't have to stick to decorating your gift boxes with quills. You can try out boxes with decorative stones, quilled roses, dried flowers & leaves or even a simple bow made out from ribbon. Another great way would be to use paper twine/bakers twine to decorate your gift boxes. 
You can use these gift boxes for small items such as earrings, pendants, key chains or some small momento. A very personalised way of packaging gifts for your friends or loved ones. A great option to the expensive gift packaging available in the market. Why pay so much when you can make it by yourself! That too, with the simplest materials available. So the next time you go shopping for your monthly groceries, keep aside all the soap packs you bring. And do not forget to share your pictures with me. Would love to see them.

Till then, Happy Crafting!
Karen

Tuesday, 11 June 2013

Bookmark Love

Hello folks! I know its been very long... was caught up with a lot of things here n there. At the same time, a lot of good things came my way! Firstly, Krafty Krook was featured in Goa's leading daily Herald which was just so fantastic! You can take a look at it in the side panel. Thanks to this, I stumbled upon an opportunity to write a weekly craft column for kids! Isn't that great? So that it for these 2 long weeks along with these beatiful bookmarks I made for a customer. These were coupled with a gift box and a greeting card. Here's a snapshot:
If you notice, majority of the bookmarks have been crafted with punched paper and quills. They make cute elements especially when its meant for gifting. They simply add a warm feel to a bookmark in addition to giving the reader a cute ornament for their books.
The gift box is crafted using printed card stock and a quilled design. And nothing else makes me more happy than knowing the client loved it all!!! :) 

Well that's it for now. Next week I have some really cool stuff lined up - Coasters from CD's and Price tags!! 

Till then,
Happy Crafting
Karen

Monday, 13 August 2012

Greeting Cards Crafted from fancy card stock paper!


This is the first time I’ve tried making stuff out of card stock. To my luck, I found these cute and fancy cardstock papers at a local stationary shop and just grabbed as many packs that I could… As always, I was excited and busy brainstorming different ideas that I could use to make something offbeat and unique with these papers.

The best thing about these is that you can use this paper in so many different ways. Even while making greeting cards, you can decorate it in the simplest way and yet get an amazing look. 

As always, I've accessorized these cards in different ways i.e. using quills, quilled roses, I've also used lace in one case and it looked absolutely stunning! These are just a few of the lot, of the cards I made for my sister on account of friendship day.


Do check out my next post where I will showcase the little gifting bags and boxes I've made out from card stock paper.

Till then, have a wonderful day!

Love, 
Karen


Tuesday, 31 July 2012

Going Experimental!


What do you do when you have a million of creative ideas playing ‘hide n seek’ at the back of your head? You have a lot to put down on that creative plate and yet struggle to materialise it! And it’s just that little free time which makes so much of a difference – it’s like getting your small little vacation where you can allow your ideas to explode and go boom! 

I do believe a lot in ‘last minute spontaneity”. I know it may sound funny but this spontaneity is what I feel gets the best out of all of us!!! Some of my best stuff has been a result of this quality... I feel very proud in sharing some of my work which is a result of my last minute spontaneity! :D

Paper wheels
I had these really cute and adorable printed tissue papers which I had saved (from being used for its normal purpose :D) for all my future craft needs. And I didn't have peace till I would make something out of those. Out of curiosity, I tried making these paper wheels out of them. And this is what they turned out to be like... 


 The bigger one of the lot... I just adore these bright set of colours...

These are a set of paper wheels I used to decorate the wall in a bright yellow room.

Art book Cover
An art book cover which I made for my for my brothers friend. 


Class Time Table
Come June and its school time! My Mum's a school teacher and every year I have this task to come up with a unique time table for her class...sigh! After being done with all the possible shapes on earth and out of all the square and round options, I decided to make a butterfly-shaped time table for her. This is what it turned out to be like...


These are just a few of my creations. I hope to have more as i go down the creativity lane! :)