Monday 17 November 2014

First of the Season: The Bride who loves Blue

Hello all you lovelies! Hope you all are doing good! 
Its been ages since I've posted here. I have been extremely busy with the weddings coming along my way and I must say its a million times worse than your own! He he he

Well, we really had a good kick start to our first season with this amazing wedding. I'm really glad I can use all my creative powers to transform the look of every wedding.  Its not just limited to making stuff but executing it to make it all look good! And even more better, I'm now full time into this! 

So coming to the weddings, this was the first of our season. An amazing bride who loves blue and a super cute groom who totally rocked it. It was super fun working for these two! 

Here's a sneak peak of what we made for them. I hope to grab some more images soon.
Handcrafted Boutonnieres
Handcrafted Bouquet
Stringed Lamps served as Table Centrepieces for this Beach wedding

Would love to know what you guys think of this! Leave in your comments, I'm waiting!

Have a great evening!

Happy Crafting,
Karen 

Tuesday 15 July 2014

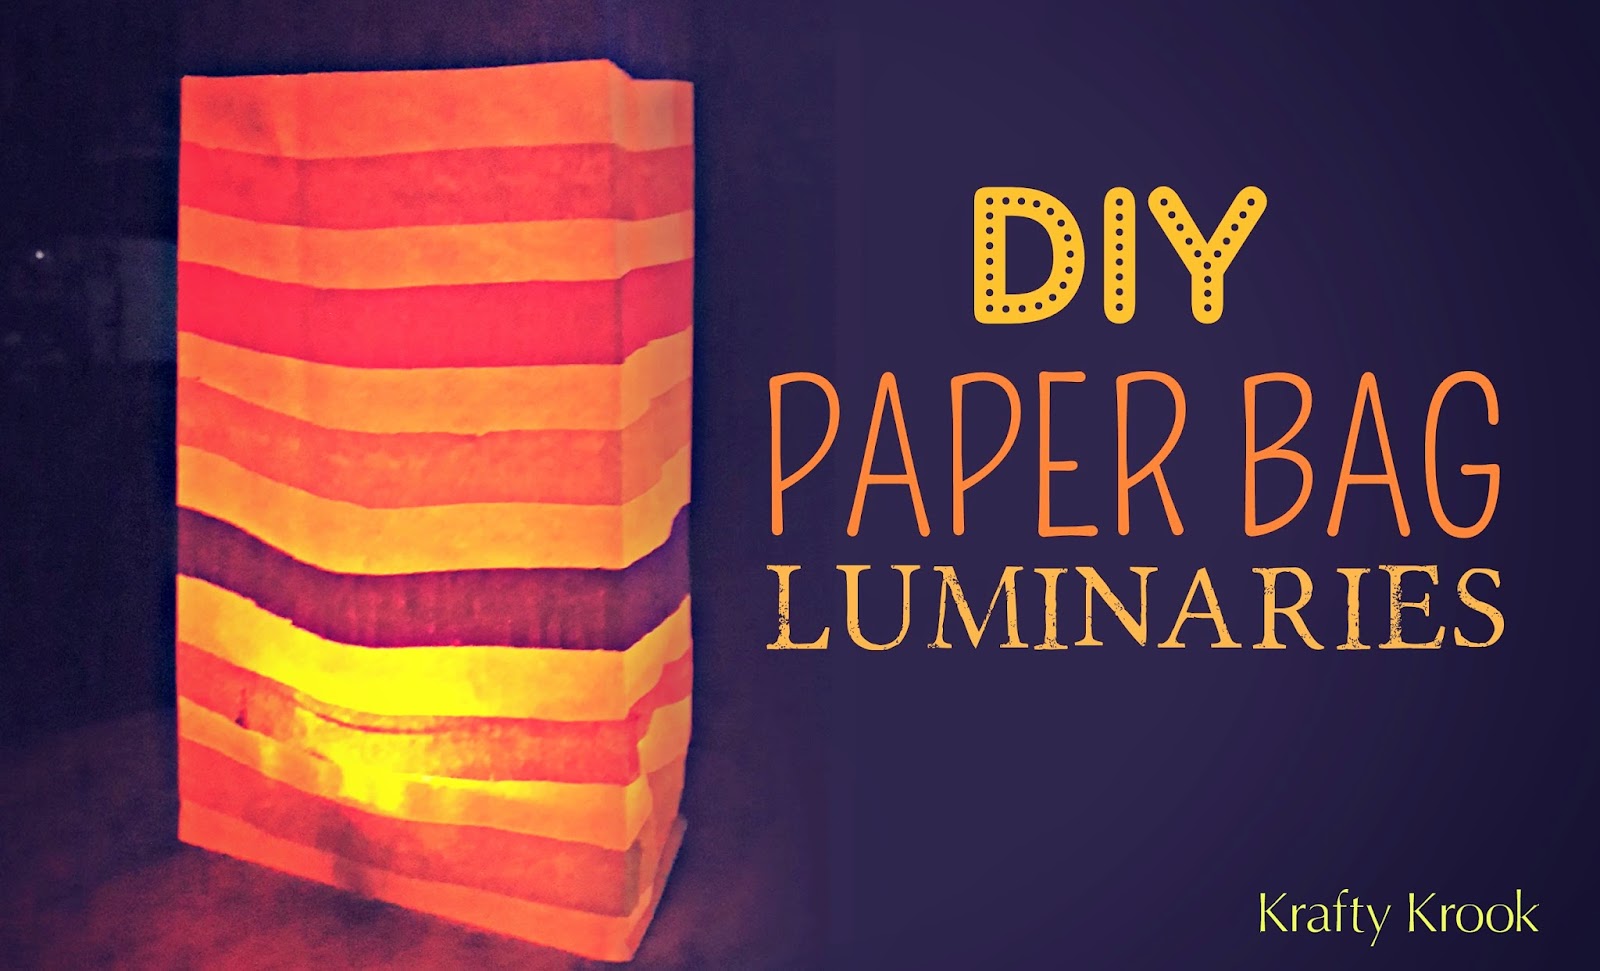
DIY: Recycle Paper Bags to Create Colourful Luminaries

Hello! Hope you all are in the best of spirits!
I came across a couple of tutorials I've done in the last few months mainly done for a local daily. Just didn't have the time to share them with you people. So for sometime now on, I'll be filling up my blog with these DIYs & Projects. The coming weeks will see a lot of tutorials and the projects I've been on. To start with, here's a super simple tutorial on using paper bags to make luminaries. A great way to recycle and create décor for your home, parties and events. 

WHAT YOU'LL NEED:
  • A Paper Bag
  • Crepe Paper/Kite Paper in different colours
  • Glue
Step 1: Begin with neatly trimming of the upper part of the paper bag. 
Step 2: Make strips from crepe paper. Use different colours for a colourful & vibrant look.
Step 3: One by one glue the colourful crepe paper strips to the paper bag.
Here's what you're final product will look like. 

Use LED tea lights or place a plain glass votives to light your luminary up. Alternatively, this can be used outdoors using sand  to hold pillar candles.

I hope you enjoy making these! A great alternative to add some quirky element to your home décor/event décor. They're sure going to brighten up all your blues. ;) Try it out!

Next on the blog: Some cute & unique gift tags.

Till then,
Happy Crafting!

Karen 

Tuesday 24 June 2014

DIY: Make Colourful Baskets from Paper Plates

Hello all you lovelies! Hope you had a great week! 
Here's a quick tutorial on making multi-utility baskets from paper plates. Use it for keeping your paintbrushes, stationary, ribbons or simply enhance your parties, picnics or events by serving your guests in these colourful baskets. 

What You'll need:
- Paper Plates (I've used large ones)
- Acrylic Paints
- Fevicol

To start with, Paint the back of the paper plate in the colour of your choice. Try to make it as colourful and quirky as you can. I'm a big fan of polka dots so that's what I'm going to make. You can try out your own designs.
Next, I've used the tip of my paintbrush to create dots on my paper plate.
The next steps involve cutting and folding the paper plate to make the basket. Its very similar to the steps used in making a box. Draw lines as shown in the picture below and accordingly fold the paper plate along the lines.
Cut the edges as shown below and the fold them into triangles (See image below). This is required as to glue the folded sides together (I cannot explain better! ;))
Glue the folds together as shown in the image below. With this final step, our basket is ready!
Get Creative & make colourful loads of them. Its a perfect handmade utility solution especially if you have loads to store in. Try it out & would love to know what you think about it! 

Till then,
Happy Crafting!
Karen

Wednesday 18 June 2014

Bookworms for Bookworms; Handmade Bookmarks & Clips

Hello all you lovelies...Hope the rains have been treating you well. Its pouring way to glory here in Goa and as usual, I'm having the best of monsoons here! 
I know its been a long long time since my last post - thanks to the juggle between KV Decor (my new label for wedding decor & designs) & Krafty Krook! This also means that I'll be posting less frequently onto Krafty Krook. Nonetheless, I have a lot of projects lined up which I cant wait to share with you guys! For now I have these unique handmade clips and custom made bookmarks. Hope you guys enjoy this post!
These are handmade clips made with Felt, Foam & Crochet. 

Handmade Bookmarks: Handpainted & Handcrafted.
A bunch of colourful goodies - perfect for a gift! All the bookmarks were made as a part of a custom order. The handmade clips are for sale. If any of you would be interested in purchasing, inbox me at kraftykrook@yahoo.in.

Till then,
Happy Crafting
Karen

Wednesday 28 May 2014

Happy Announcement!

Hello!

The love for weddings, details and DIY's evolved into a passion while planning my own wedding. During my planning, I discovered so much that I couldn't help starting up my own wedding decor blog. I intend to make weddings more fun, more personalised and more playful while we imbibe the tastes & personalities of the couple into all the details right from the invite to the little details in the venue set-up. This has always been my dream and here I am with my own wedding decor label.
Makes me really glad and proud as I announce my next label "KV Designs & Decor" which is a label dedicated to creating unique designs and handmade decor for weddings. 

Here are few glimpses of my new website & blog. 


Hope you folks continue the love you've given me through Krafty Krook. I look forward to seeing you guys at KV too. Here are the links to the:

Enjoy! Have a great week ahead!

Karen

Monday 14 April 2014

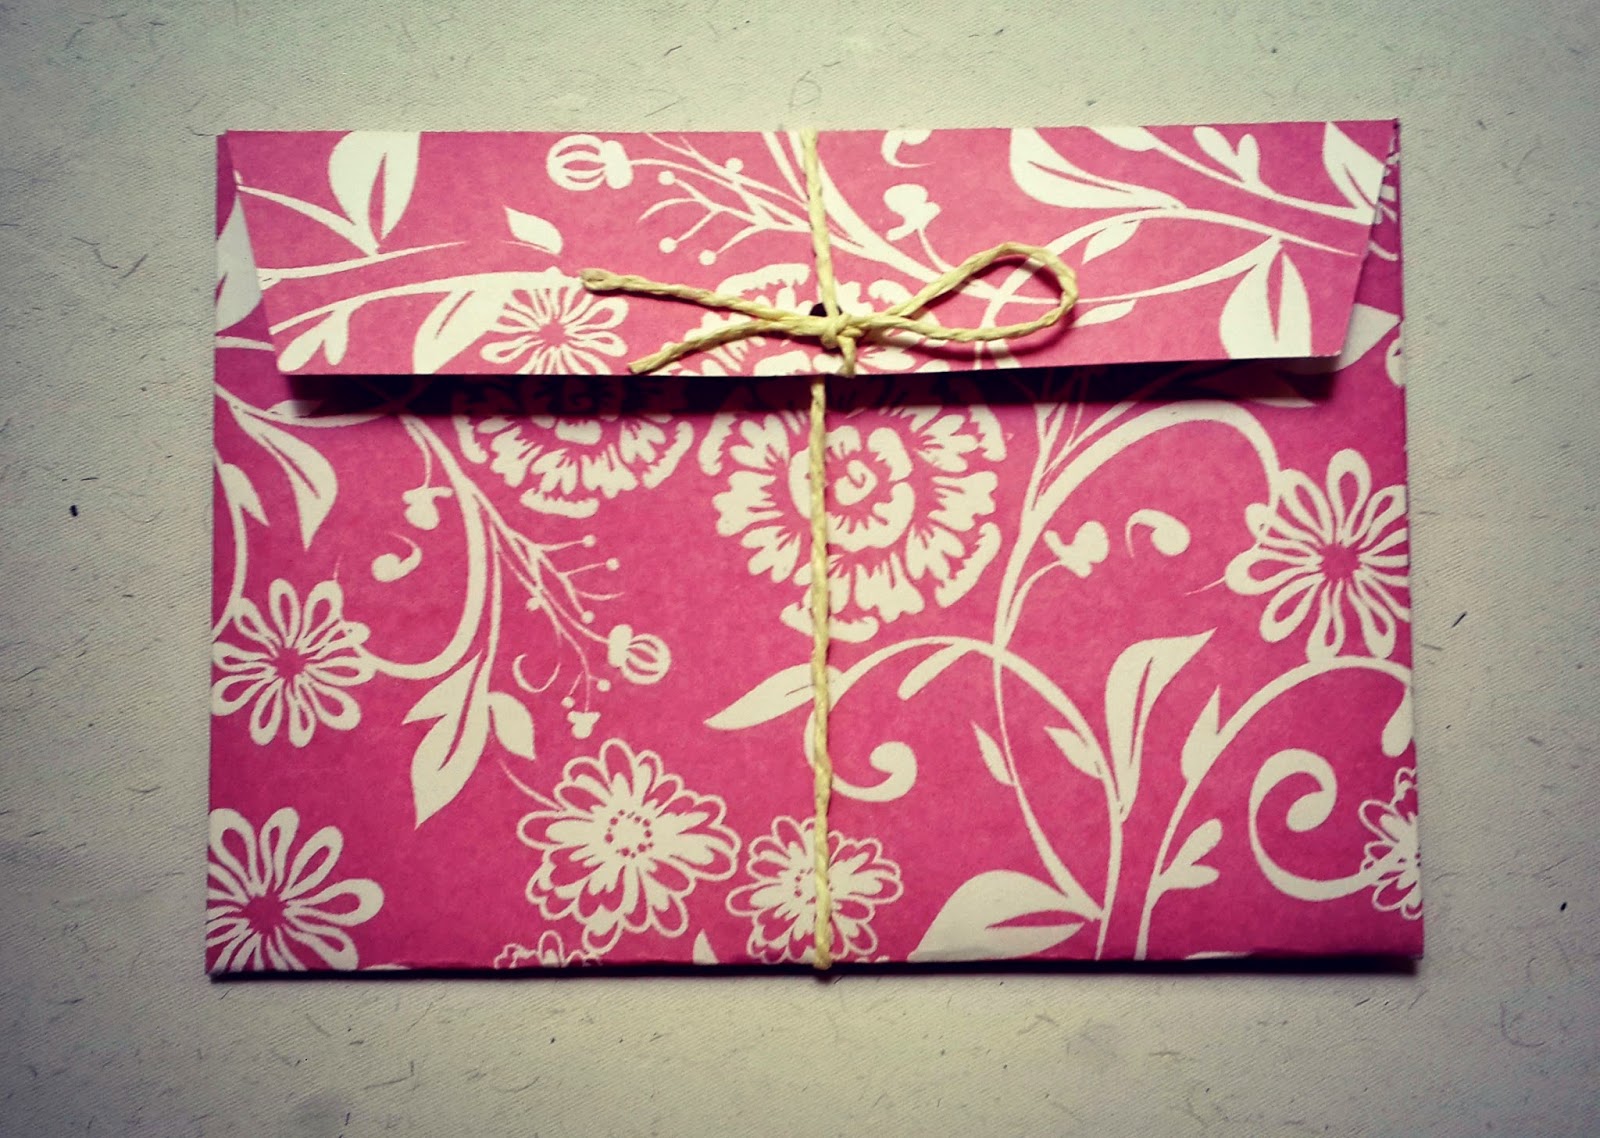
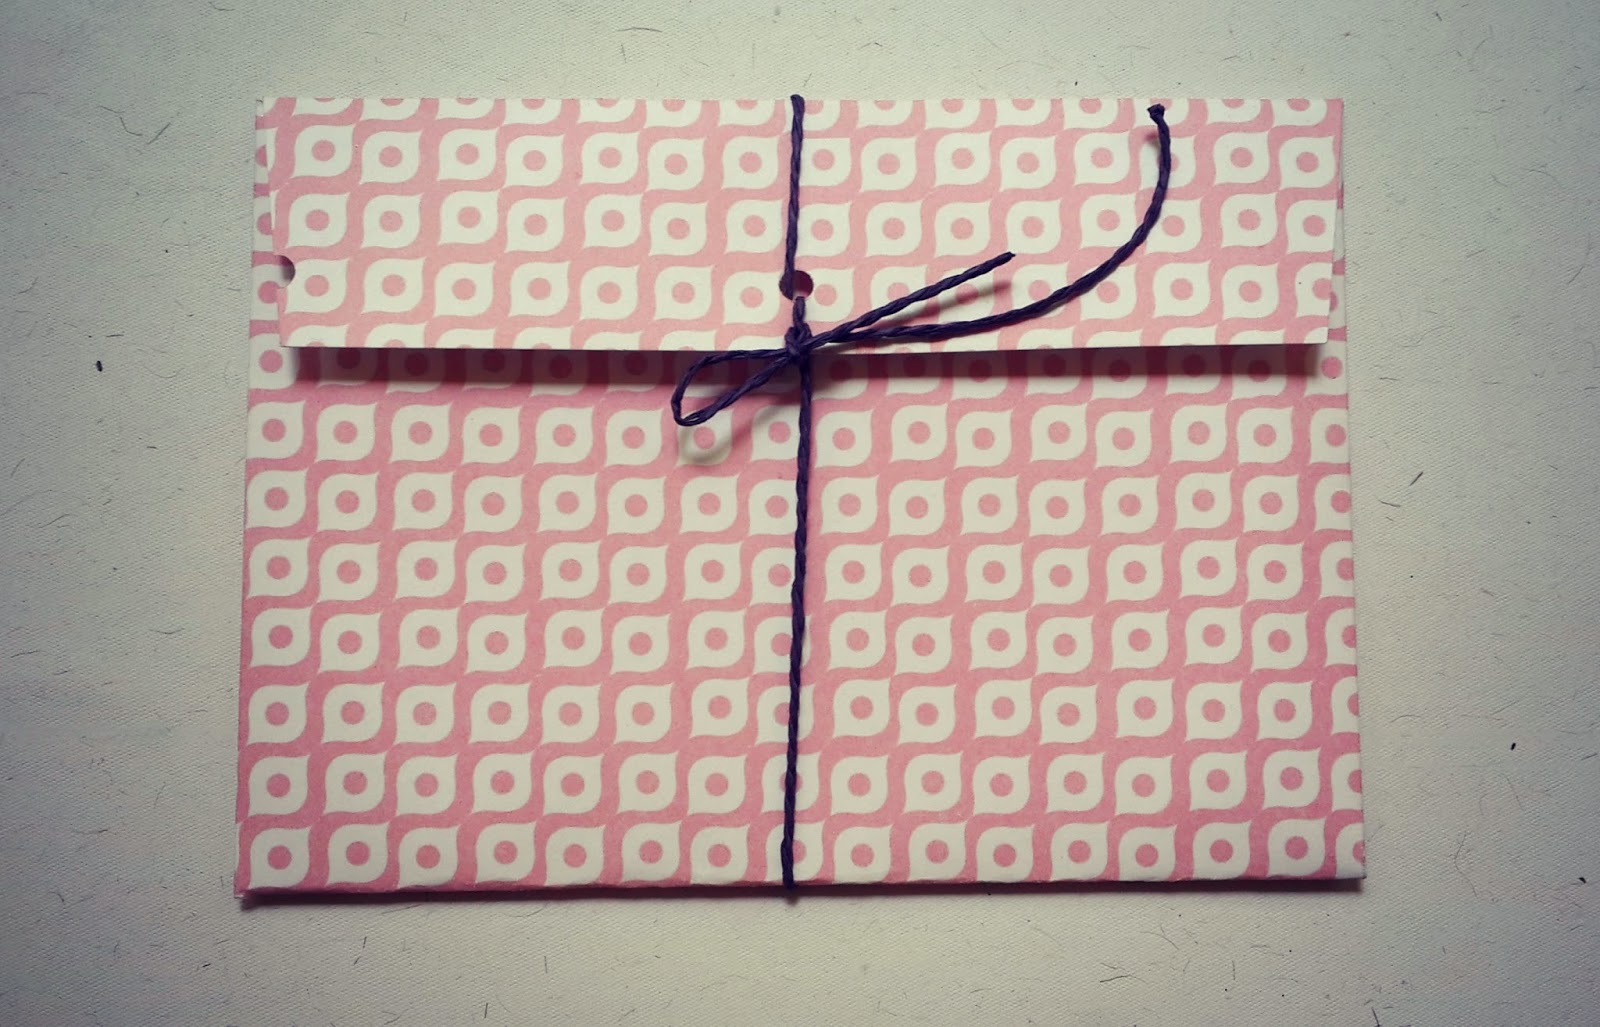
Gifting Made Pretty - Handmade Gift Envelopes


Hello all you lovely people out there! I had a fabulous weekend and I hope you all rocked it too.
So the last time I  went to this stationary shop to pick up some large paper clips and as usual had a random glance to all the stuff the shop had stocked. Found these pretty card stock papers which I just couldn't resist and somehow had to pick them up. Once I bought them, all I could think of making was gift envelopes which would add a pretty factor to any gift in them :)
I crafted these in different sizes cos sometimes we really don't require large envelopes for gifting.
Take a look at them all and in case you're interested in purchasing them do email me at kraftykrook@yahoo.in

The Mini Lot
Mini envelopes measuring 12.7 x 6.7 Cm
The LARGE LOT
Envelopes measuring ~17 x12cms
Pretty pretty prints and lovely colours... Loved crafting each and every one of them. And this is not all... have a lot more envelopes to share over here. Just didn't get the time to photograph them.

So I'll be selling these in sets: Mini's in sets of 5 & the large ones in sets of 2. In case any of you are interested, do leave in an email at kraftykrook@yahoo.in.

Till then,
Have a great day ahead!
Happy Crafting!

Karen