

Hello People! Hope you all are doing great! These two weeks have been the busiest with a really important event coming up the end of the year. Unfortunately, I'm left with little or no time which is giving me a hard time to juggle between Krafty Krook and my important set of events. Nonetheless, where there is a will, there is way... And that's what keeps me going on KK!
So talking about today's DIY project, it was just a sort of an accident. I had these few pieces of leftover wood which I discovered while on a cleaning spree! Yes, I must have surely kept them aside in case I think of making something out of them someday (he..he..). I knew what I wanted to make of them, but didn't think they would turn out to be so pretty. Take a look at the pictures before I show you how to go about making them.


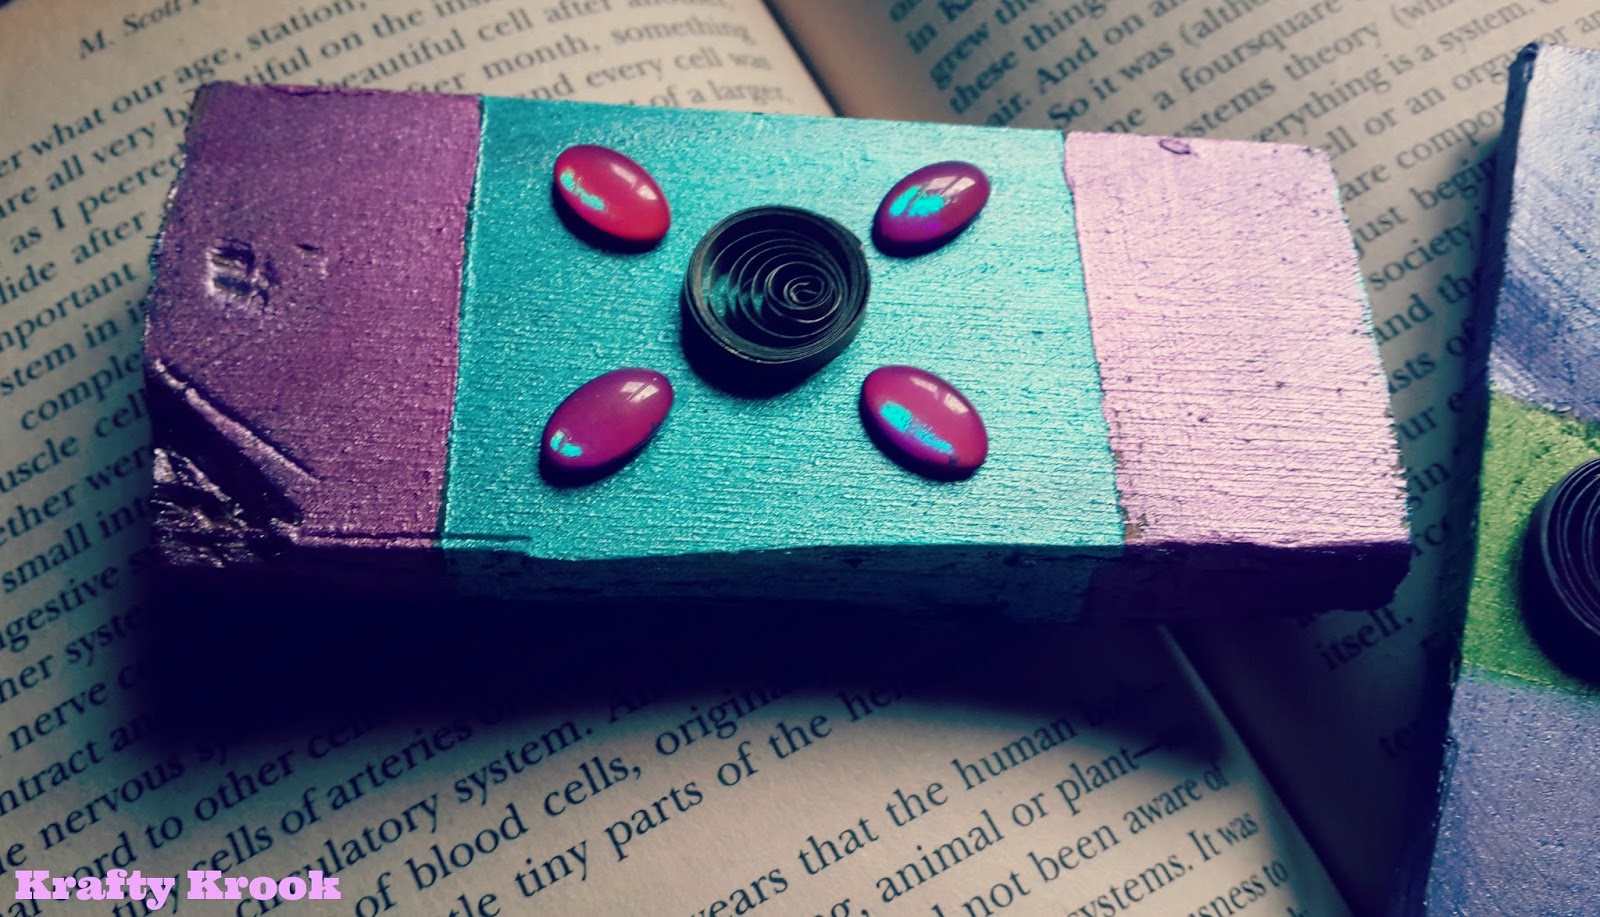


Aren't they simply pretty?
Here's what you'll need:
§
Some leftover wood chunks
§
Paper tape
§
Metallic paints (You can also use the normal acrylic paints)
§
Quills and Decorative stones/beads
§
Glue
Here's how you go about it!
To Start off, roll tape around the wood chunks based on the design you're going to create. I've used block designs in this case and hence rolled the tape either at the center or at the edges to have a neat and defined paint finish.

After you have rolled the tape, start with painting the chunks in different colours. In this case, I've used metallic paints (Fevicryl) and paper tape. (Paper tape is easier to remove as compared to any other tapes. It does not leave any sticky residues and very easy to work with.)
Allow the paint to dry for a while and then slowly begin peeling off the tape carefully.

Once you peel off the tape, you can begin painting the remaining portions in the colour of your choice. Allow the entire painted to chunk to dry for a while and finish it by decorating it with quills or decorative beads as shown in the pics above! Yes! As simple as that!
A great way to make gorgeous stuff for your home! Trust me! You'll love keeping these bookmarks on your table. Tell me what you think about this! Would love to know your suggestions and ideas!
Till then,
Happy Crafting!
Karen


